No products in the cart.

 Tiếng Việt
Uncategorized @vi
Detailed Guide to the Low and Slow BBQ Technique
Preparation Before Starting the Low and Slow BBQ Technique
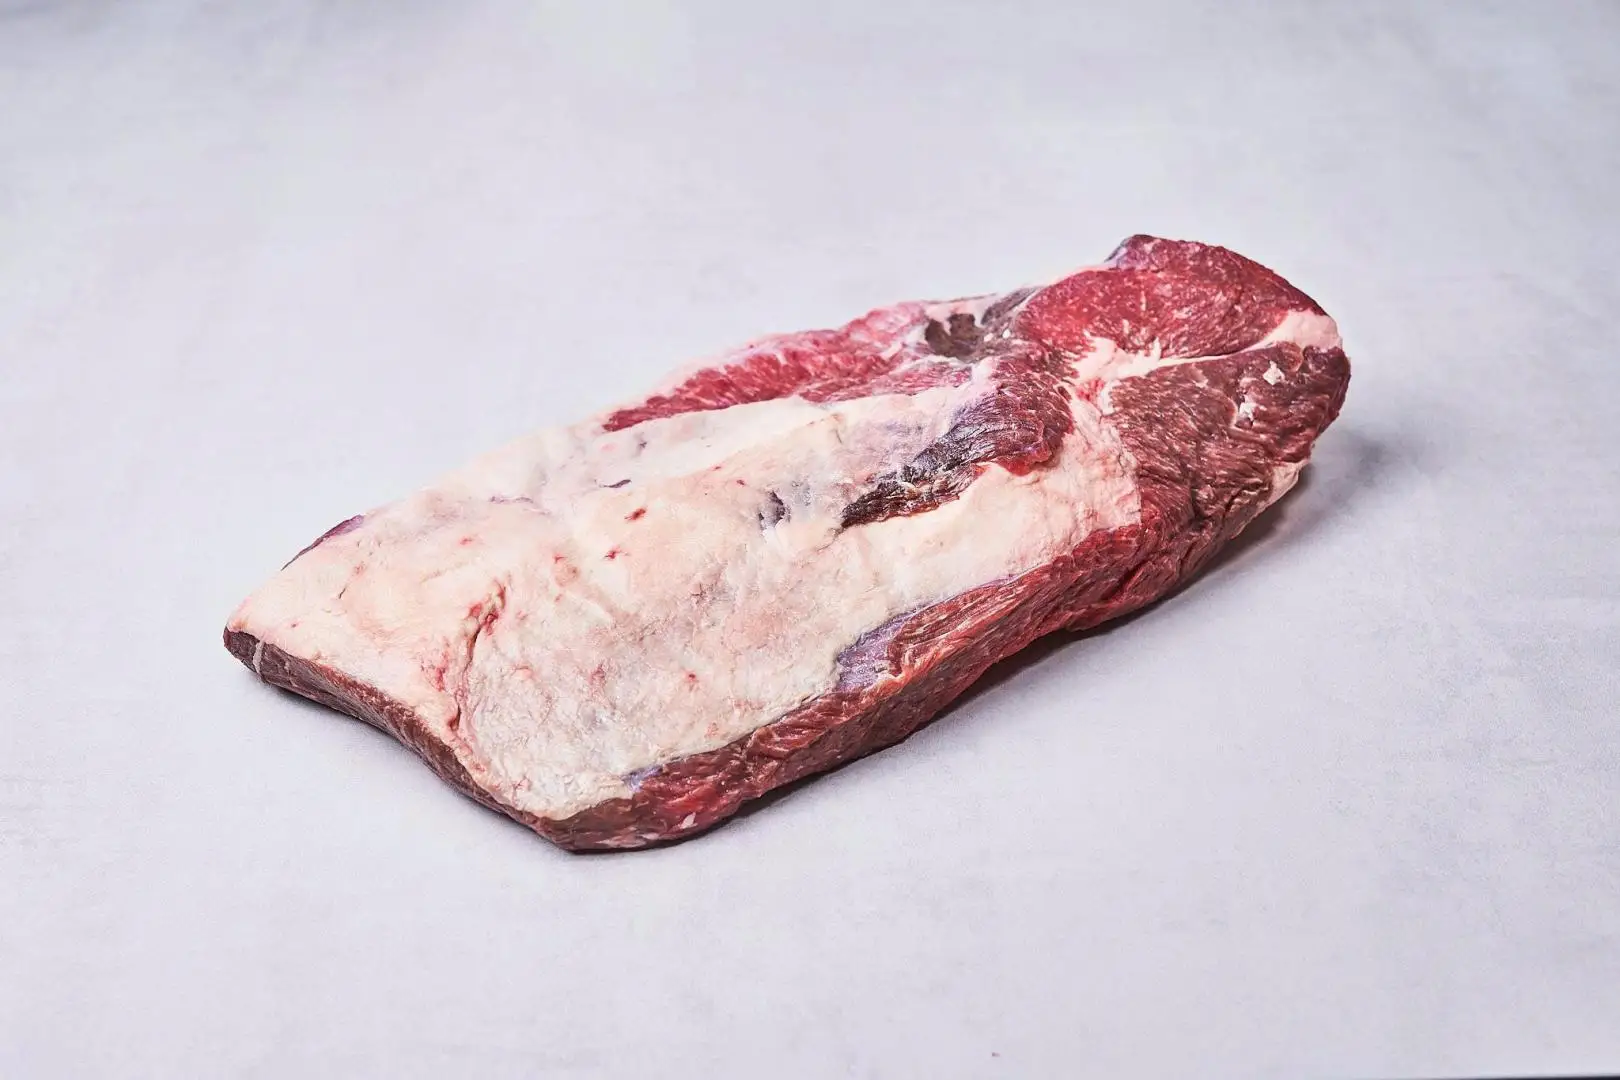
Choosing the Meat
Not every cut of meat is suitable for Low and Slow BBQ. This technique works best with large cuts that contain plenty of fat and collagen, which need extended cooking time to break down and become tender. It’s also ideal for those who enjoy the subtle, deep flavor of natural wood smoke infused into every fiber of the meat.
Ideal cuts for Low and Slow include:
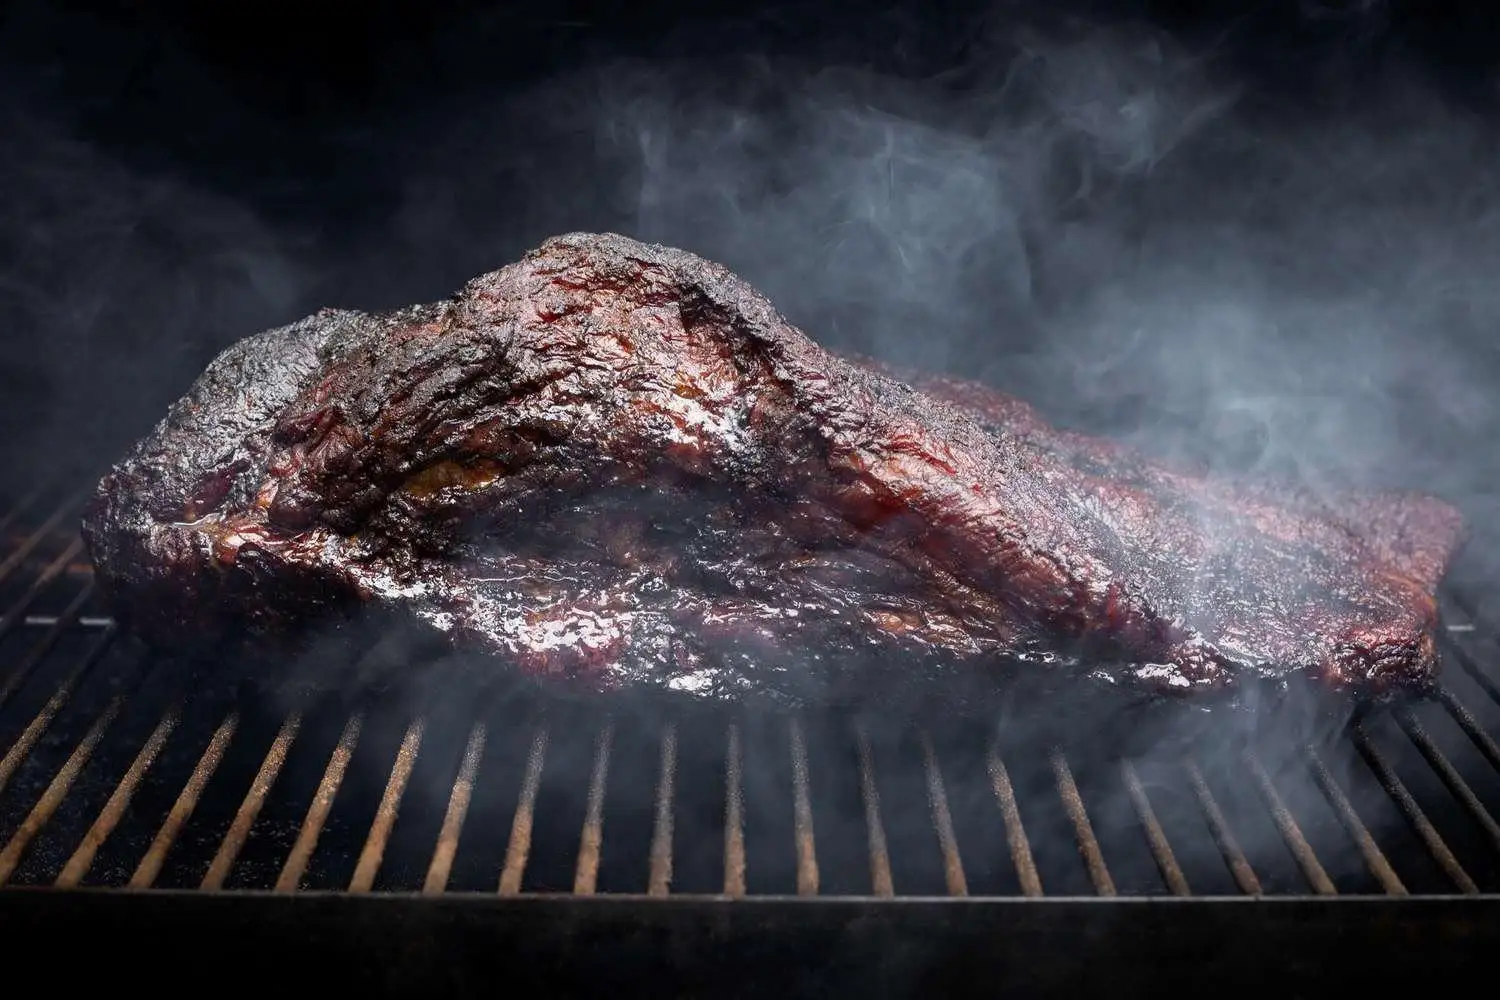
- Brisket: The symbol of Texas BBQ, requiring slow cooking to achieve proper tenderness and a rich, beautiful bark.
- Pork shoulder: High in fat and connective tissue, making it perfect for juicy, tender pulled pork.
- Pork ribs / Beef ribs: Thick, fatty cuts that absorb smoke well during long cooks.
- Beef chuck roast: Often considered a “mini brisket,” easier for home BBQ while still delivering the true Low and Slow experience.
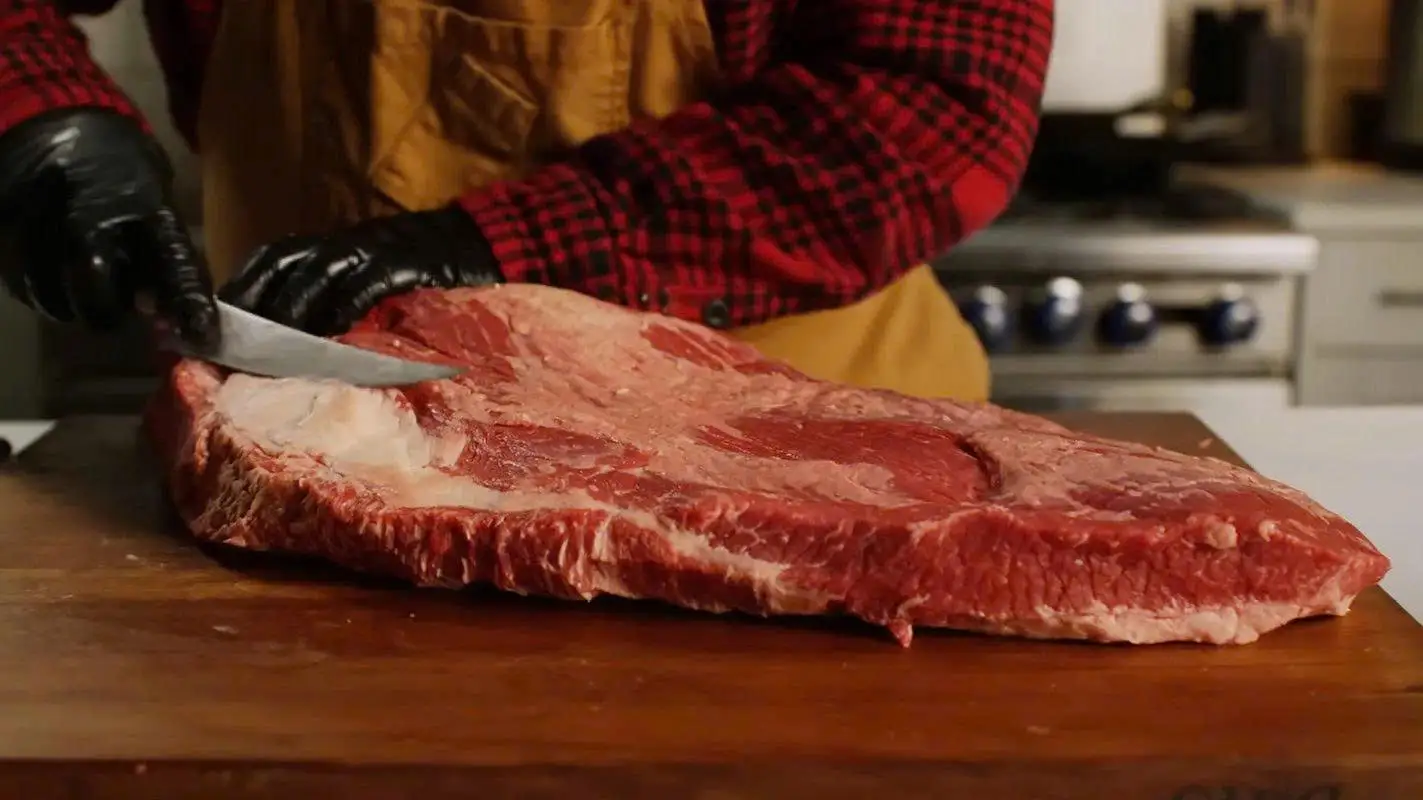
Basic Prep Before Low and Slow Cooking
Before placing the meat in the smoker, proper preparation plays a major role in tenderness, juiciness, and overall flavor.
- Trimming: Remove excess fat and tough connective tissue while keeping a moderate fat layer to protect the meat during long cooking. This helps prevent drying and improves juiciness.
- Simple dry rub: A classic mix of 50% salt and 50% black pepper is enough. Apply a thin, even layer over the meat, adding slightly more seasoning to thicker areas. You can include paprika, garlic powder, or dried herbs for extra depth, but avoid over-seasoning so the natural smoke flavor remains dominant.
- Dry brining: After applying the rub, let the meat rest for a period of time so the seasoning penetrates the fibers before going into the smoker. This creates a balanced flavor base for the entire Low and Slow cooking process.
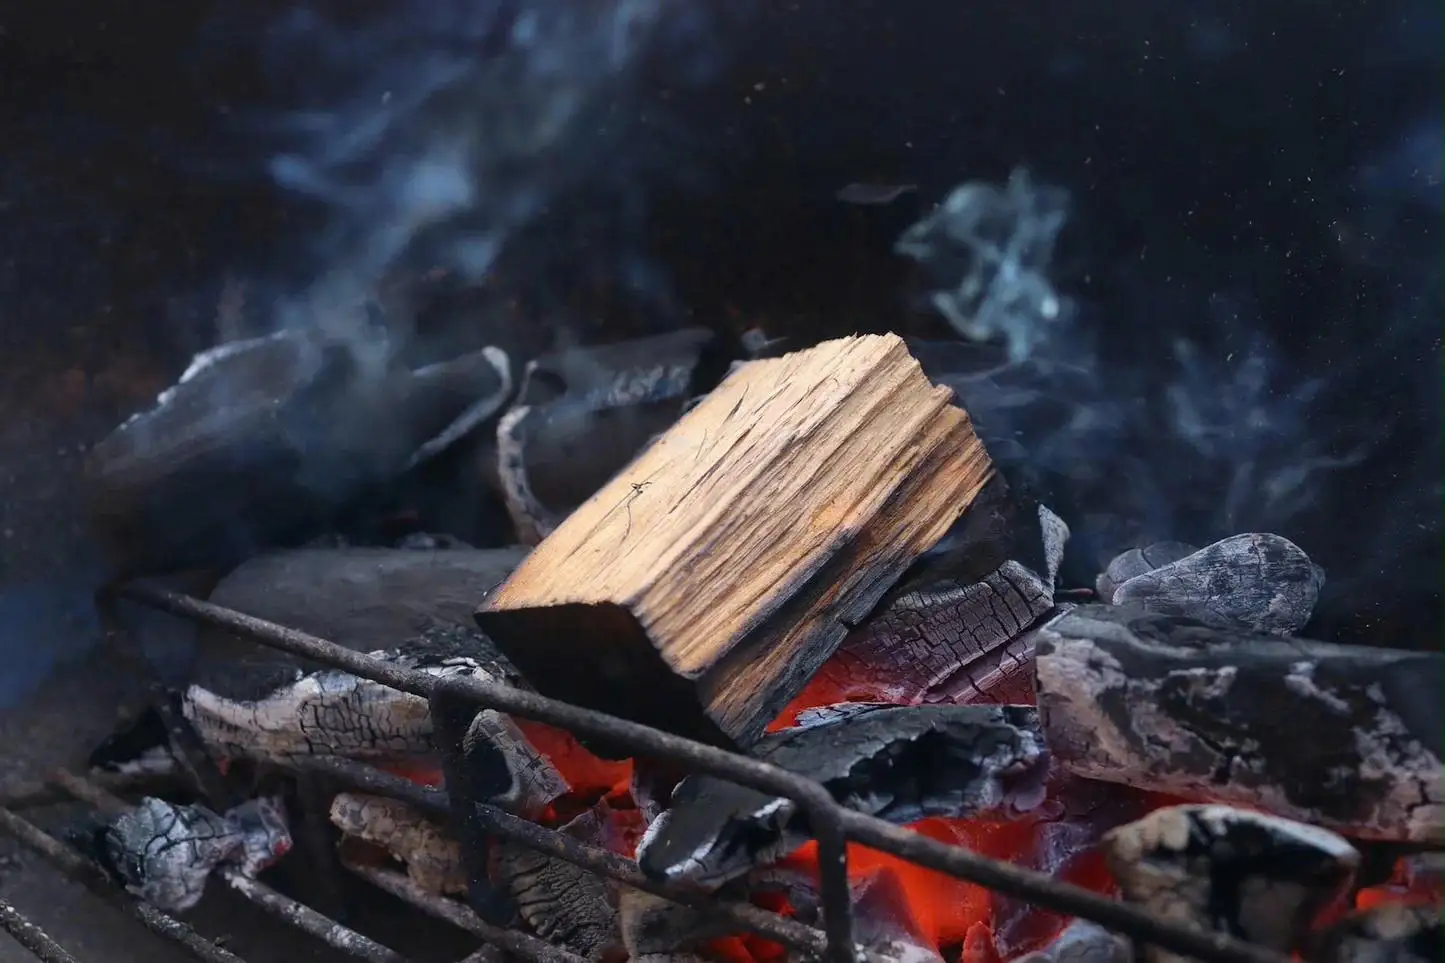
Choosing the Right Smoking Wood (Chunks/Chips)
Smoke is the soul of Low and Slow BBQ. Selecting the right wood and producing clean smoke directly impacts the final flavor.
- Oak: Balanced, clean smoke — the most common choice for Texas BBQ.
- Hickory: Stronger, more pronounced smoke that pairs well with beef and pork.
- Mesquite: Bold, distinctive smoke — best used in moderation.
- Fruitwoods (apple, cherry): Light, slightly sweet smoke, ideal for pork and chicken.
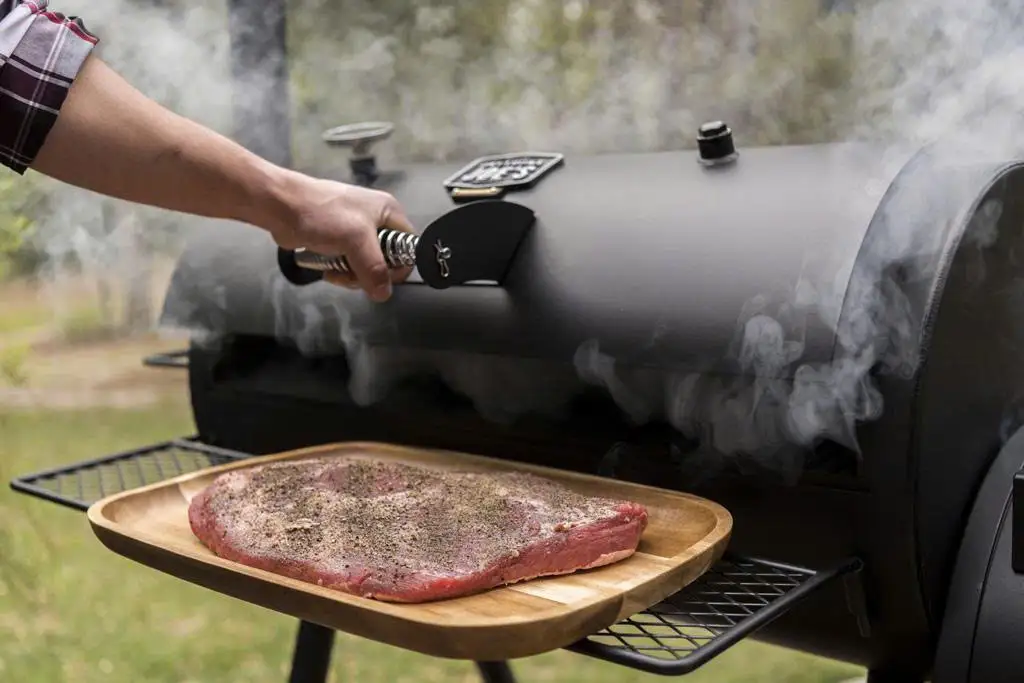
Equipment for Low and Slow BBQ: Why a Smoker Is Key
Smoker vs Grill – Differences & Benefits
Although both are used for cooking outdoors, a smoker and a grill serve very different purposes. A grill is designed for fast cooking at high heat, while a smoker is built for slow cooking, allowing precise control of heat and smoke over many hours.
Smoker:
- Uses indirect heat with low, stable temperatures
- Maintains clean smoke for long cooking sessions
- Ideal for brisket, ribs, and pulled pork
- Requires less constant fire management, making long cooks easier to control
Traditional Grill:
- Uses direct heat at high temperatures
- Difficult to maintain low, stable heat
- Best for steaks, seafood, and quick grilling
- Not optimized for Low and Slow cooking
Popular Types of BBQ Smokers
Each type of BBQ smoker is designed for a different cooking style and level of experience. Understanding the pros and cons of each will help you choose the right equipment for Low and Slow cooking.
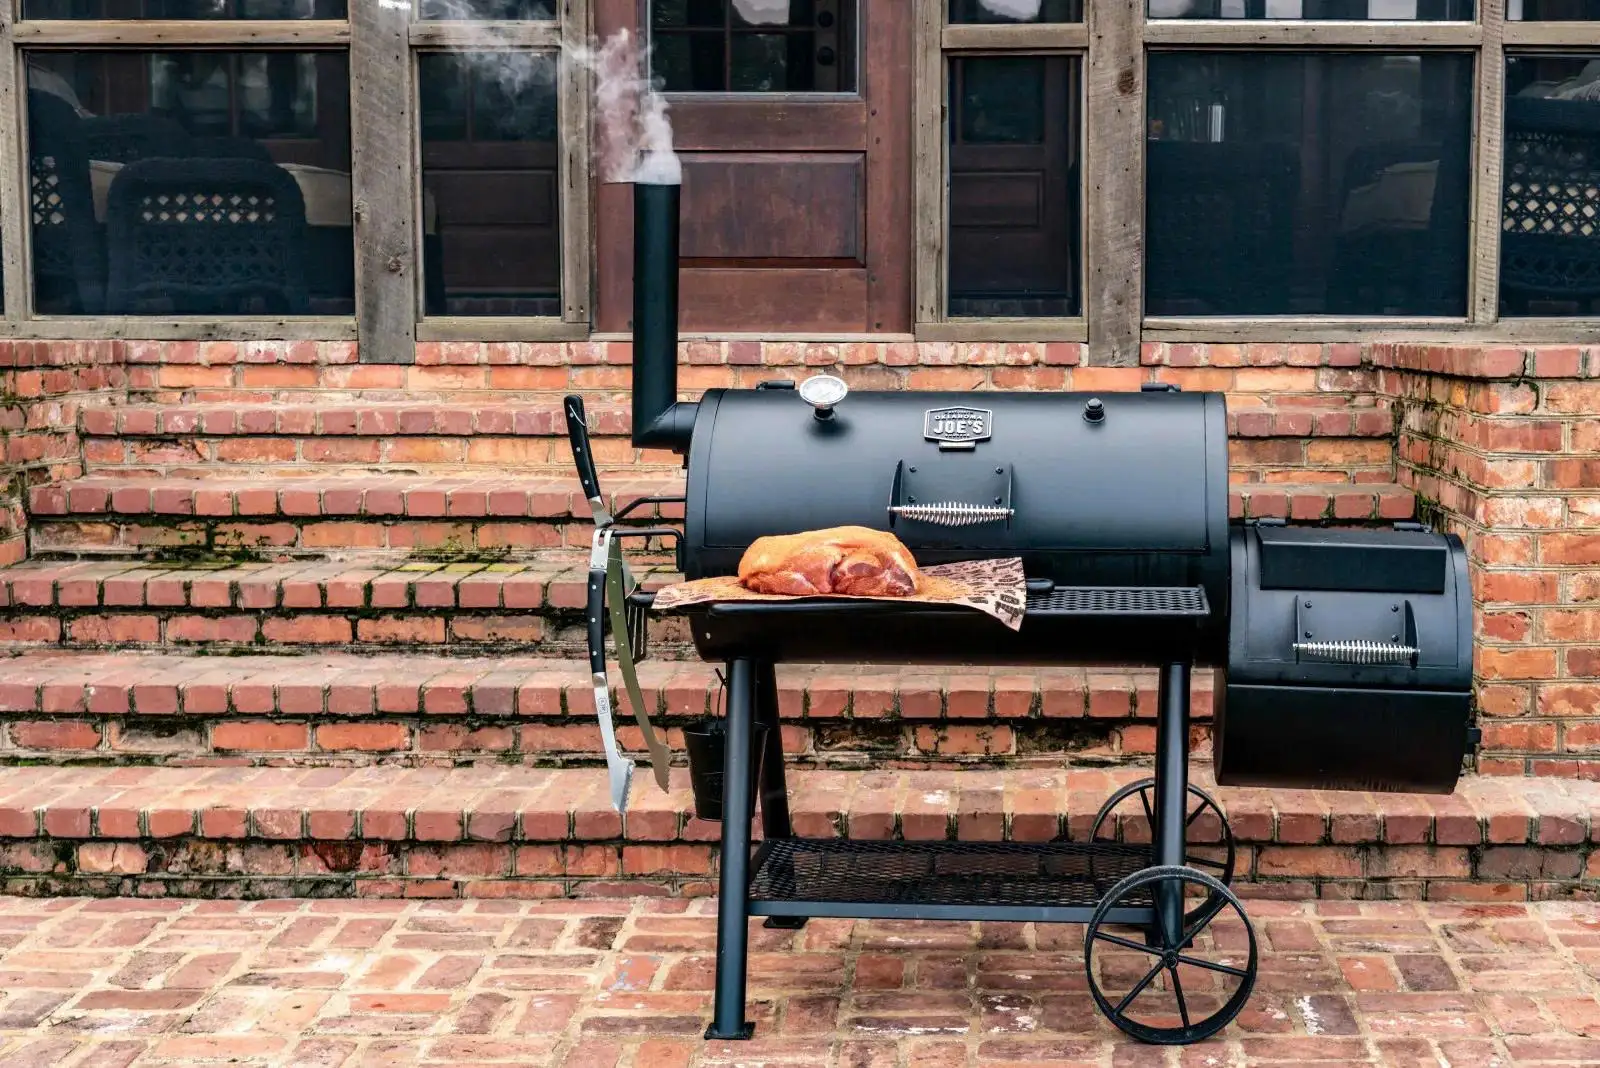
Offset Smoker – The Texas BBQ Classic
The offset smoker is the traditional Texas-style smoker, featuring a firebox that is completely separate from the main cooking chamber. This design allows smoke to flow steadily, cleanly, and with a high level of control.
- Excellent heat and smoke control
- Produces deep, rich smoky flavor
- Ideal for brisket, beef ribs, and long cooks
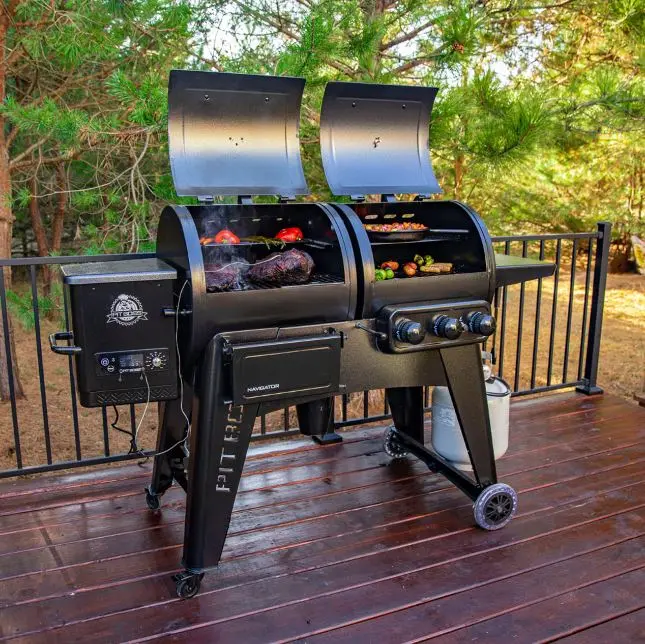
Pellet Smoker – Easy to Use, Highly Stable
A pellet smoker operates almost automatically, using wood pellets and a precise temperature control system. It’s an ideal choice for beginners or anyone who wants consistent BBQ results without constantly managing the fire.
- Precise temperature control
- User-friendly with minimal effort
- Great for home BBQ and long cooks with less stress
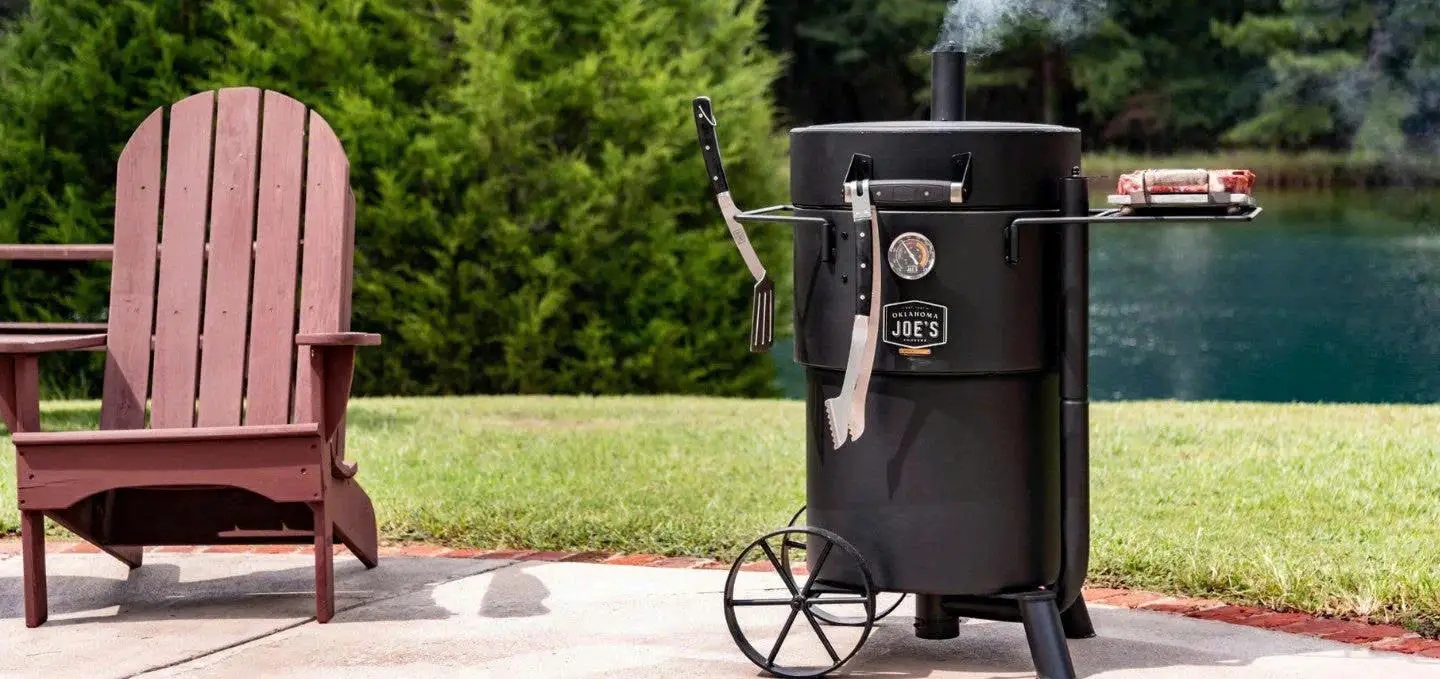
Vertical / Drum Smoker – Compact and Efficient
Vertical and drum smokers feature an upright design that helps retain heat well and use fuel efficiently. This type is especially suitable for smaller spaces and backyard BBQ setups.
- Stable heat retention
- Fuel efficient (less charcoal/wood)
- Ideal for backyard and family BBQ cooking
Charcoal Smoker – Flexible and Traditional
Charcoal smokers use charcoal combined with smoking wood to create a natural, well-defined smoke flavor. This option is popular because it allows both direct grilling and smoking when needed.
- Flexible between grilling and smoking
- Natural smoke flavor, easy to adjust
- Ideal for those who enjoy a traditional BBQ experience

Step-by-Step Guide to Low and Slow BBQ
Step 1 | Set up stable heat and clean smoke
Light the charcoal and let it burn steadily for about 3–5 minutes, then add your smoking wood. Adjust the airflow to keep the cooking chamber temperature around 80–100°C (175–212°F).
Only place the seasoned meat into the smoker once the temperature is stable and you see thin, clear smoke (thin blue smoke) — a sign of clean combustion.
Rule: Never put the meat in before the smoker reaches stable heat and clean smoke.
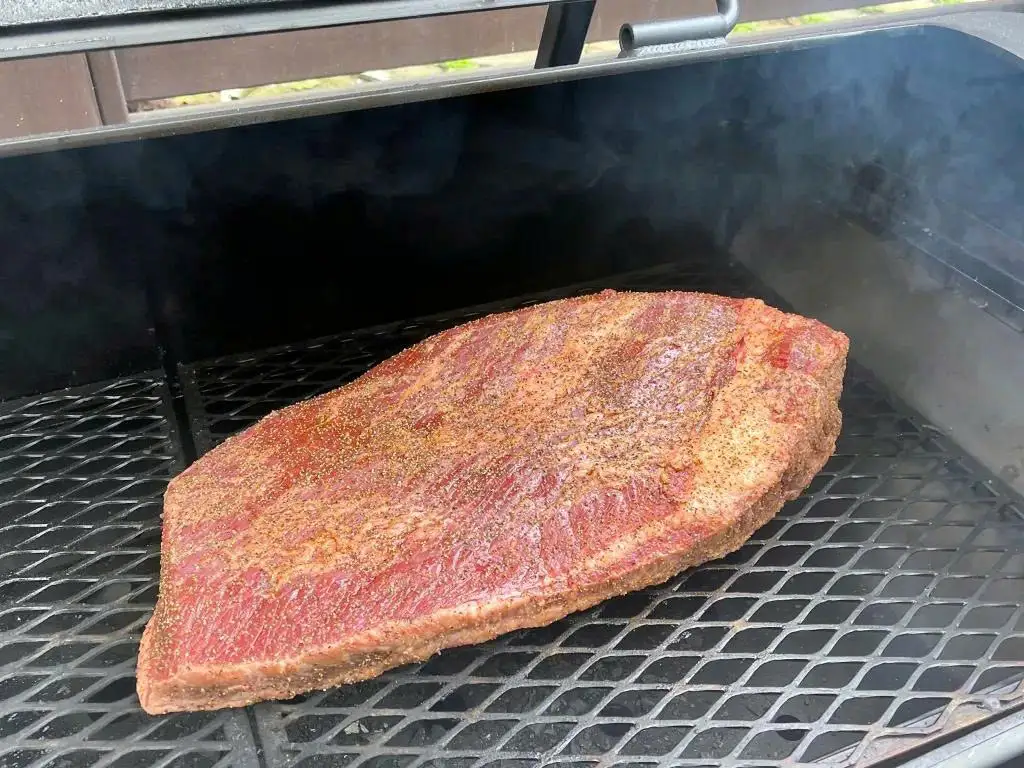
Step 2 | Smoke absorption phase
This is when the meat absorbs the most smoke. Maintain thin blue smoke and avoid opening the lid too often. Heat and smoke are mainly controlled through the smoker’s air vents and chimney.
Every 45 minutes to 1 hour, lightly spritz the surface of the meat to prevent it from drying out or burning. During this stage, the dry seasoning begins forming the bark, and the smoke ring starts to develop.
This phase typically lasts 4–6 hours.
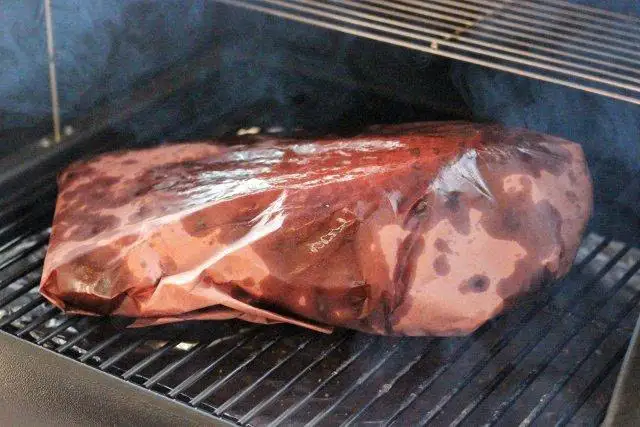
Step 3 | Check and Decide When to Wrap
As the meat begins to tenderize — with collagen breaking down and fat slowly rendering — and the bark has developed a deep, stable color, you can consider wrapping the meat in butcher paper or foil to retain moisture and control the bark’s color.
This stage typically lasts 1–2 hours, depending on the type and size of the cut.
Step 4 | Doneness Check
If you’re new, you can use internal temperature as a guide — around 200–205°F (93–96°C).
More importantly, use a probe test: when the probe slides into the meat with little to no resistance, it’s ready. Each cut will reach perfect tenderness at slightly different times.
Step 5 | Resting
After cooking, let the meat rest for 30–60 minutes. Resting allows the juices to redistribute, resulting in meat that is juicier, more tender, and more flavorful when sliced.
Advanced Tips for Successful Low and Slow BBQ
- Use a water pan: Helps stabilize temperature, increases humidity inside the smoker, and reduces the risk of the meat drying out during long cooks.
- Use thermometers & probes: Always monitor both chamber temperature and internal meat temperature instead of relying on guesswork.
- Set timers: Helps you track when to add fuel or wood, spritz the meat, or check doneness without opening the lid too often.
- Maintain clean smoke: Aim for thin blue smoke. Thick white or black smoke indicates an inefficient fire and can create bitter flavors.
Conclusion
Low and Slow BBQ is not about speed — it’s a journey of temperature control, clean smoke, and patience. When you understand the fundamentals, prepare properly, and use the right equipment, you can produce BBQ that is tender, juicy, smoky, and restaurant-quality.
Whether you’re a beginner or experienced, investing in a dedicated BBQ smoker makes the Low and Slow process more stable, easier to control, and more consistent. A good smoker doesn’t just maintain ideal heat and smoke — it elevates your entire BBQ experience over the long run.